

Introduction to Soil Moisture Meters
Soil moisture meters are crucial tools in agriculture, helping farmers optimize water usage by measuring the moisture level in the soil. With the advent of the Internet of Things (IoT), creating a smart soil moisture meter is not only possible but also efficient. This guide provides a comprehensive step-by-step approach to building your own IoT-enabled soil moisture sensor system.
Materials Required
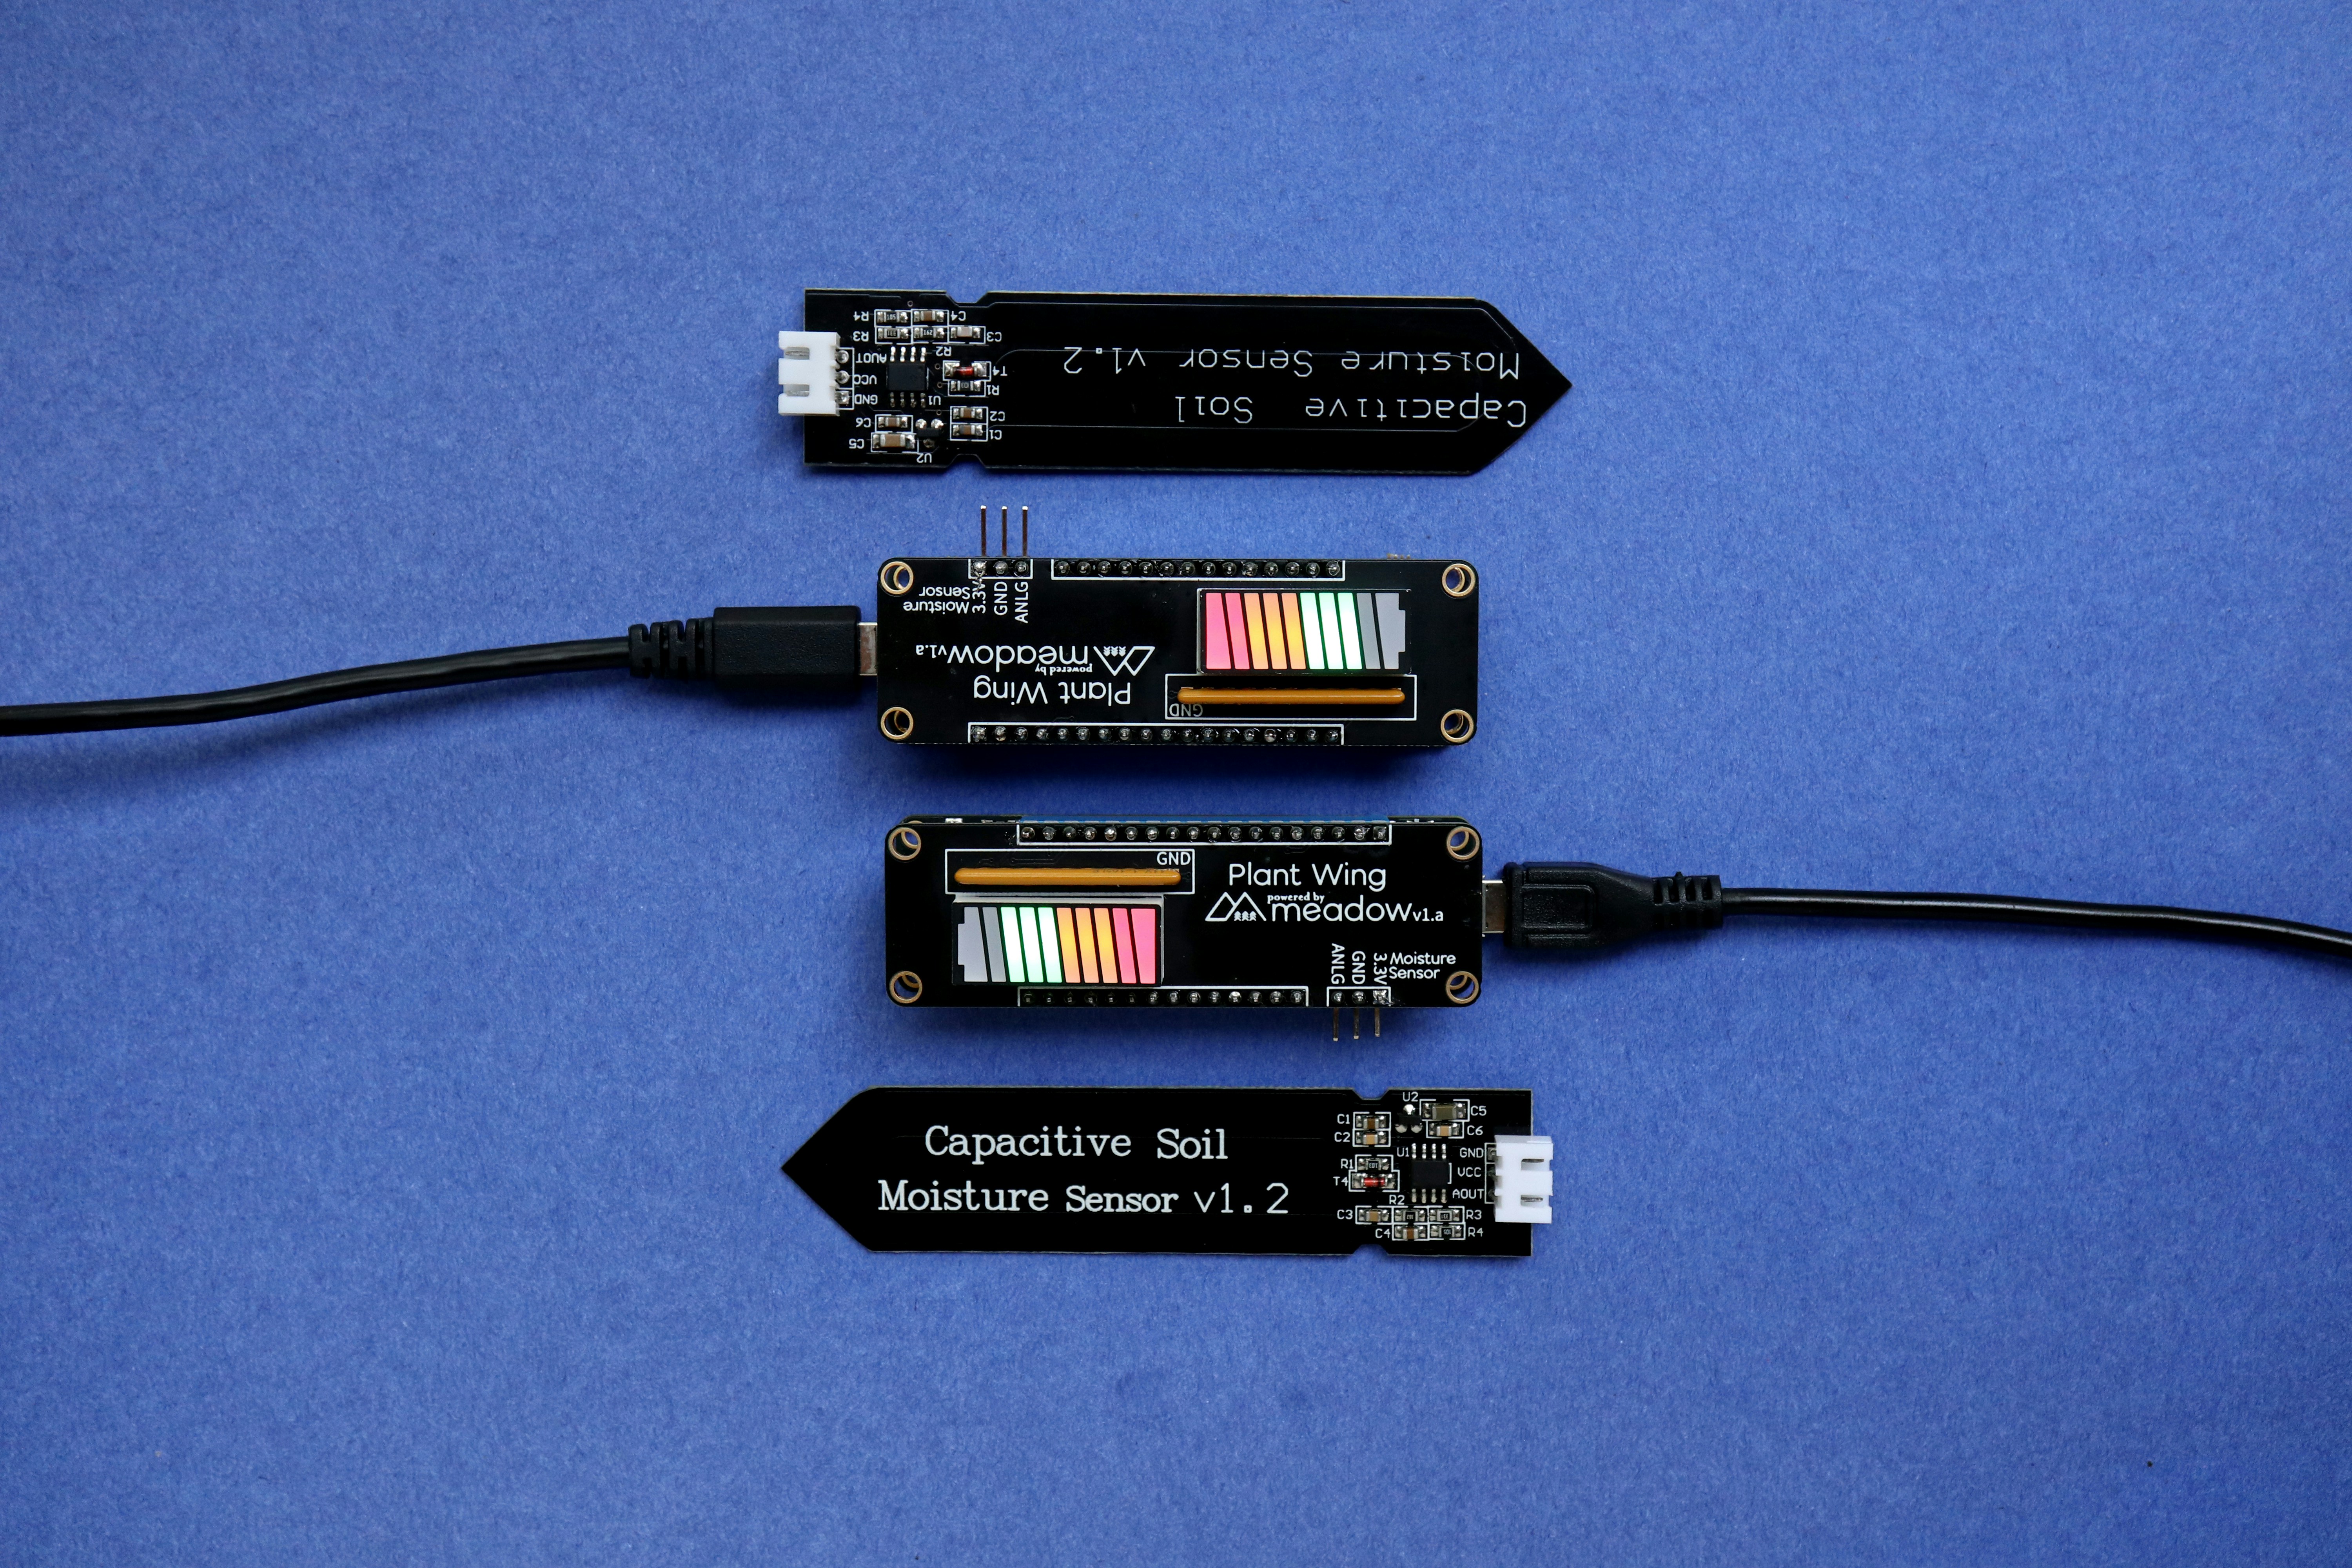
To get started, you will need the following materials: an Arduino board (or similar microcontroller), a soil moisture sensor, a Wi-Fi module (like the ESP8266), jumper wires, and a breadboard. Optional items include a battery pack for portability and a case to house your components. Ensure you have access to programming tools and necessary software for coding the IoT functionality.
Step-by-Step Process
The first step in your project is to connect the soil moisture sensor to your Arduino. Follow the manufacturer’s guidelines for correct pin connections. Once connected, you will need to write a simple program to read moisture data. The next step is to interface the Wi-Fi module, allowing your data to be sent to the cloud.
Next, utilize a cloud service (like ThingSpeak or Blynk) to collect and visualize the soil moisture data remotely. This step will require setting up an account with your chosen service and configuring your code to push data at regular intervals. Once everything is connected, you can power up your device and start monitoring moisture levels directly from your smartphone or computer.
This step-by-step guide to creating an IoT soil moisture meter will engage DIY enthusiasts and help in water conservation practices. Enjoy your project and transform your gardening or farming skills!
